How to fix a muddy mix: find the mud, then take it out
Where mud in a mix comes from, how to find which tracks cause it, and how to clear the low-mids with high-passes, cuts, cleaner reverbs and the stereo image.
By CrystalKarat9 min read
A muddy mix sounds thick, dull and further away than it should, as though there is a blanket over the speakers. Turning up the top end doesn’t fix it, because the problem is in the low-mids, and it is rarely one track’s fault. Here is how to find where the mud is coming from and take it out without making the mix thin.
What mud is, and where it comes from
Mud is too much energy between about 150 and 500 Hz, from too many parts at once. Almost everything has something there: the body of a vocal, the low strings of a guitar, the left hand of a piano, the lower harmonics of the bass, the shell of every drum, and every reverb tail. Each part is fine on its own, and together they pile up into a fog that masks the detail above it, because low frequencies mask upwards.
| Range | Sounds like | Usually from |
|---|---|---|
| 100–200 Hz | Boom, a low end that won’t stop | Bass harmonics, kick body, close-miked guitars and vocals (proximity effect) |
| 200–350 Hz | Mud proper: thick, cloudy | Guitars, keys, pads, low vocal, toms, reverb returns |
| 350–600 Hz | Boxy, cardboard | Kick and snare shells, small-room recordings, acoustic guitar |
Rule out your room first
Before changing the mix, make sure the mud is in it. A small, untreated room has strong resonances in exactly this range, and they make a clean mix sound muddy at the listening position, or hide real mud. Check on good headphones and on a second system. If the mix only sounds muddy on your monitors, the fix is acoustic treatment or speaker placement, not EQ.
Find which tracks are making it
- Mute tracks one at a time in the densest section. The mix clearing up when one goes is the clearest sign of all.
- Compare with a reference in the same genre, level-matched, on an analyser. If yours carries several decibels more between 200 and 400 Hz, that is your mud.
- Look for overlap, not just level. A track loud in the low-mids is only a problem if it shares them with others, at the same time and in the same part of the stereo image. A muddiness remover such as Soap shows that overlap directly, then clears it.
High-pass, with care
High-pass filters on parts that don’t need low end are the quickest win: hi-hats, overheads above the kick, backing vocals, a rhythm guitar under a busy bass. But set each one by ear, not at a habit like 100 Hz on everything. A high-pass on every track thins the mix and shifts phase around the cutoff, and some parts (a vocal’s chest, a piano’s left hand) need their low-mids to sound like themselves. Raise the filter until the part starts to thin, then back it off a little.
Cut where it builds, track by track
Cut the low-mids on the tracks that crowd them, rather than once on the master. A master cut takes the warmth out of the parts that own that range along with the parts crowding it.
- Choose the owner. In each section, one or two parts should own the low-mids: usually the bass and either the vocal or the main rhythm instrument.
- Cut the others where the owner lives. Two or three decibels around 250 Hz on the guitars, keys and pads adds up to a big change across the mix, without any one part sounding hollow.
- Make the cut dynamic where it needs to be. If the mud only builds in the chorus, or only when the bass plays a low note, a dynamic or sidechain-driven cut takes it out only then.
Clean up the reverb and delay returns
Reverb and delay returns are among the biggest sources of mud, because they add a second, smeared copy of every part’s low-mids. High-pass every reverb and delay return, often somewhere between 200 and 500 Hz, and consider a gentle low-mid cut on long halls. The tail still sounds full in the mix; the fog goes.
Use the stereo image
Low-mid build-up is worst in the middle of the image, where the bass, the kick, the vocal and every mono part sit together. Pan the parts that can move, and on wide stereo parts (pads, doubled guitars, keys) cut the low-mids on the mid channel only, so they keep their width and stop crowding the centre. A mid/side equaliser does this; so does Soap’s Wash set to cut the middle.
Saturation can add mud as well as cure it: every saturator adds harmonics, and a bass driven hard fills the low-mids above it. If the mud arrived with a saturator, saturate fewer bands, or less. Our multiband guide shows how to keep the colour off the low-mids.
Fix the arrangement
Often the cleanest fix isn’t a plugin. If the piano’s left hand doubles the bass, take it up an octave or out. If three parts strum full chords in the same register, give one an inverted voicing higher up. A mix with fewer parts in the low-mids needs far less EQ to sound clear.
Plugins for a muddy mix
01Soapby CrystalKarat
Muddiness removerBest for: Finding which track is causing the mud, and taking out only its share
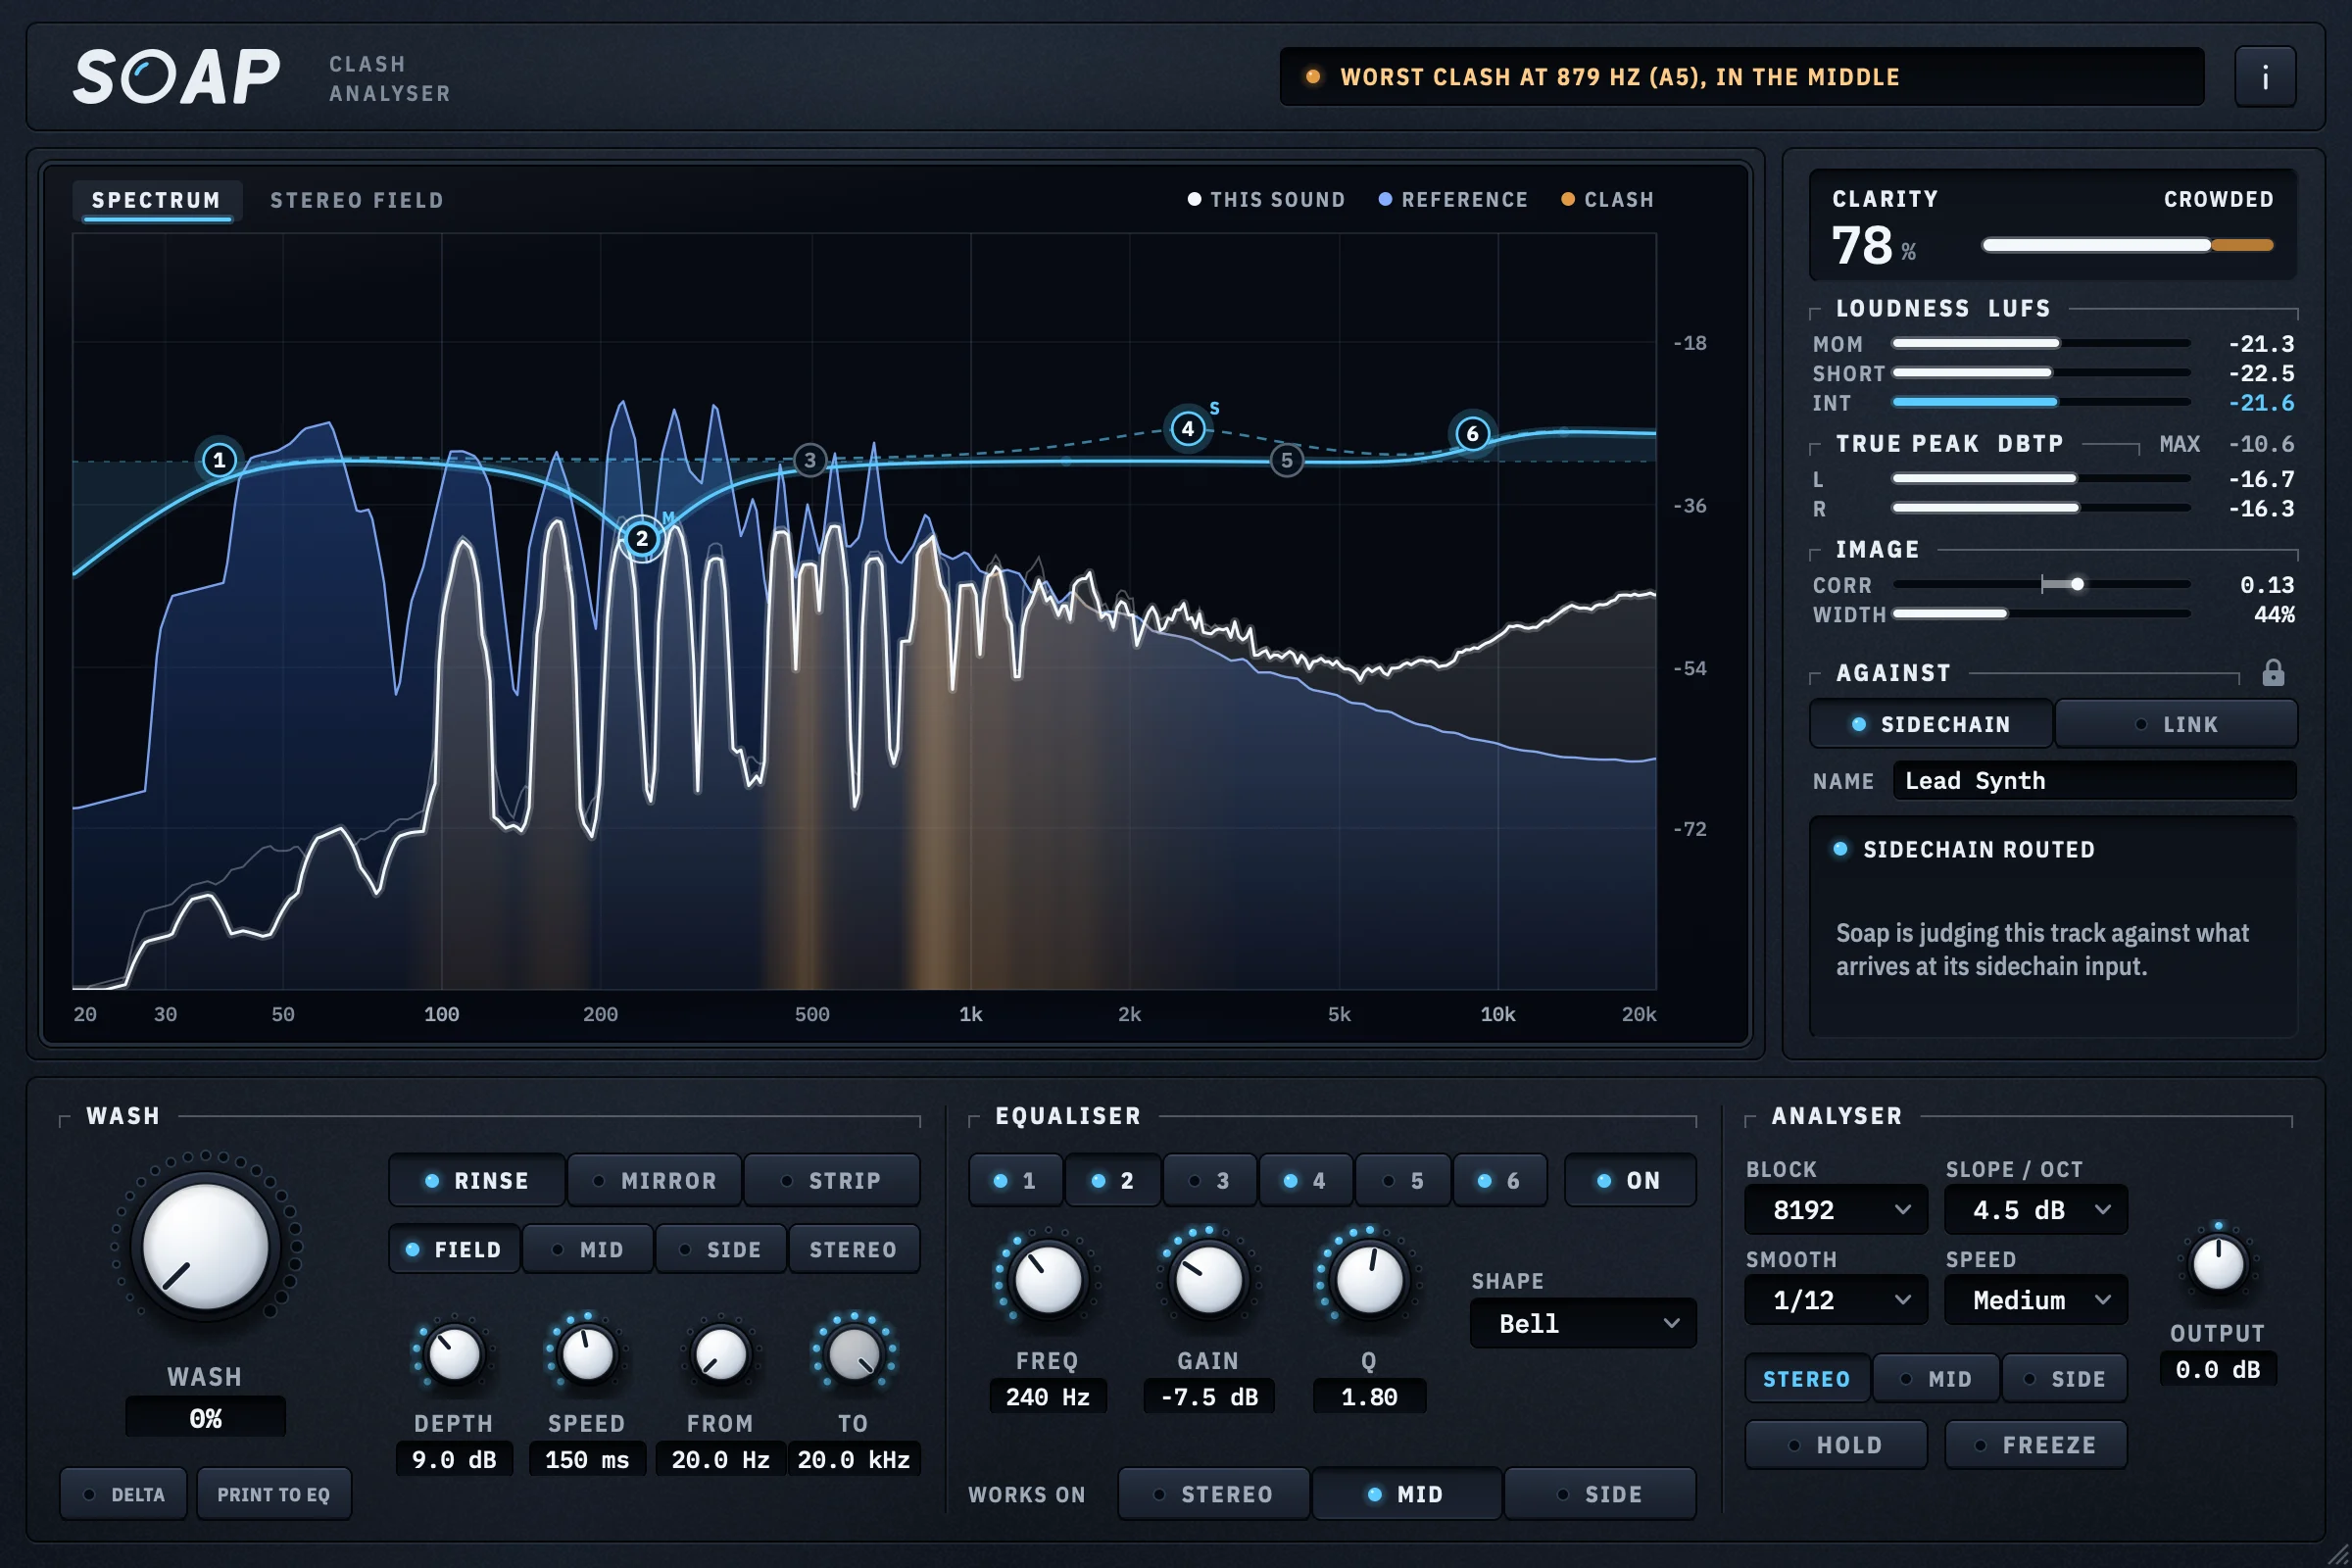
Soap judges one track against the rest of the mix and gives a verdict: Clarity from 0 to 100 %, read as clean, crowded, muddy or buried. Put it on the tracks you suspect, one after another, and the one that reads muddy is your answer; the amber on its display shows the frequencies, and whether the clash is in the middle of the image or out at the sides. With Link, on Studio Pass, Soap hears every other CrystalKarat plugin in the session with nothing routed and lists how badly each one clashes, by name.
The fix is on the same screen. The Wash cuts the clash as the music plays, on the middle, the sides or both, and Print to EQ turns what it did into up to six static bands on the built-in mid/side equaliser, so you can see the cut it chose and refine it.
Why pick it
- A muddy verdict per track, not a guess from one curve
- Shows whether the mud is in the middle or the sides
- Automatic cuts you can print to a static, editable EQ
Know first
- Free, it needs the rest of the mix on its sidechain
- Per-track listing (Link) sees only CrystalKarat plugins, and needs Studio Pass
- Price
- Free, with a CrystalKarat account · Link with Studio Pass
- Formats
- Windows VST3 · macOS VST3 and AU
Soap is ours: CrystalKarat makes it and publishes this blog. Everything else on this list is another company's, and nobody paid to be on it.
Pro-Q 4. Image: FabFilter 02Pro-Q 4by FabFilter
Equaliser with collision detectionBest for: Precise cuts, and seeing several tracks at once
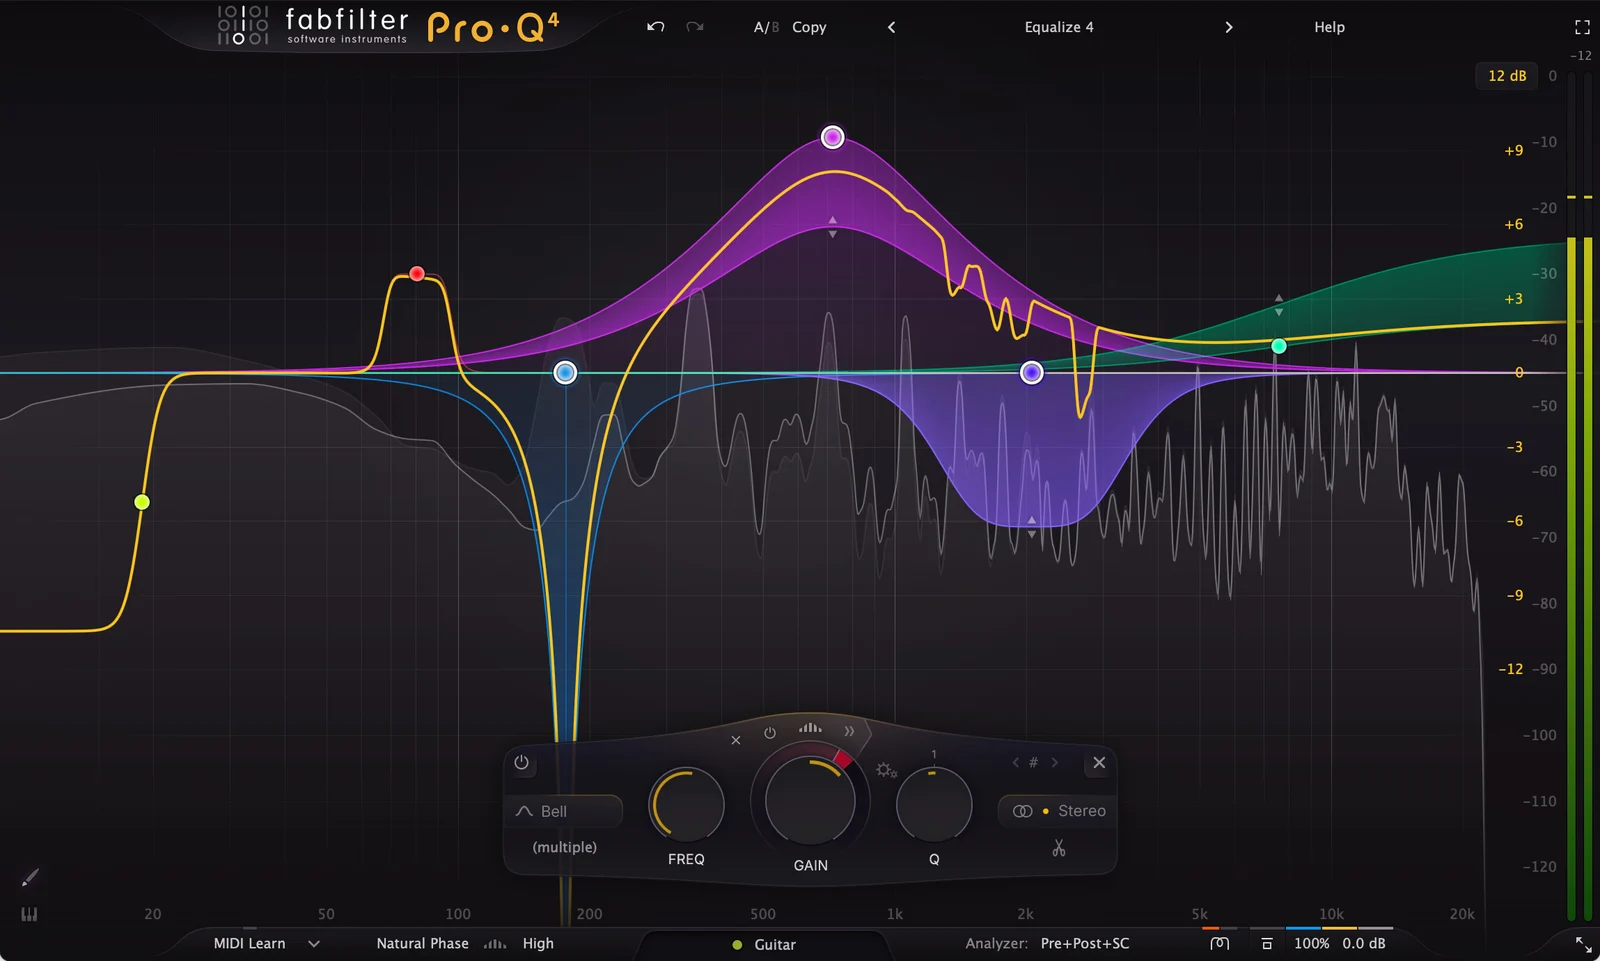
Pro-Q 4 is the equaliser many engineers clean low-mids with: fast, precise, with dynamic bands that cut only when a frequency builds up. Its instance list shows every Pro-Q 4 in the session together, grouped by track, and marks in red where they collide with a reference track you choose. FabFilter itself calls that an indication rather than exact science, and it is a good one.
Why pick it
- Dynamic bands for cuts that come and go
- Instance list with collision marking
Know first
- Collision view needs Pro-Q 4 on every track
- Not cheap
Mid-price · Also sold in FabFilter's bundles
FabFilter's page for Pro-Q 4 (opens in a new tab)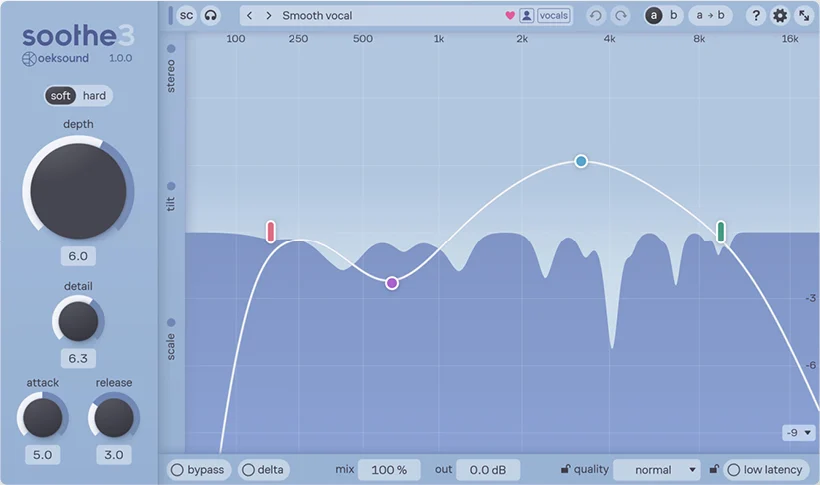
soothe3. Image: oeksound 03soothe3by oeksound
Dynamic resonance suppressorBest for: Taming boomy, resonant low-mids on one source
soothe3 finds resonances as they happen and cuts them dynamically, so a boomy acoustic guitar or a ringing room mic loses its build-up without a fixed notch. It is a fix for one track that is muddy on its own, not for two tracks that clash; for that, use its sidechain in hard mode, keyed from the track that should win.
Why pick it
- Dynamic, so it follows the performance
- Sidechain for de-masking in hard mode
Know first
- Premium price
- Easy to overdo: a mix soothed everywhere sounds flat
Premium · Cheaper as an upgrade from soothe2
oeksound's page for soothe3 (opens in a new tab)
Questions
What frequency causes a muddy mix?
Mostly the range from about 200 to 350 Hz, with boom below it down to 100 Hz and boxiness above it up to about 600 Hz. It is rarely one track: it is the low-mids of many parts adding up, plus reverb returns.
Should I high-pass every track?
No. High-pass the parts that don't need low end, and set each filter by ear. Filtering everything at the same frequency thins the mix and shifts phase, and parts like a vocal's chest or a piano's left hand need their low-mids.
Why does my mix sound muddy on my speakers but fine on headphones?
Probably your room. Small, untreated rooms have strong resonances between about 50 and 300 Hz that build up at the listening position. Check on a second system before cutting; if only your monitors sound muddy, treat the room or move the speakers.
Can saturation make a mix muddy?
Yes. Saturation adds harmonics above whatever drives it, so a bass or a drum bus driven hard fills the low-mids. Saturate in parallel, use less drive, or use a multiband saturator to keep the low-mids clean.